Kaivac 1250 Parts Manual: An Overview
This manual details the Kaivac 1250’s components, including spray guns, squeegees, and hoses. It covers electrical systems, fluid handling, and troubleshooting procedures for optimal performance.
The Kaivac 1250 is a powerful, self-contained cleaning system designed for efficient and thorough facility maintenance. This parts manual serves as a comprehensive guide for understanding, maintaining, and repairing all aspects of the machine. It’s crucial for cleaning professionals, maintenance staff, and technicians responsible for keeping the Kaivac 1250 operating at peak performance.
Within these pages, you’ll find detailed illustrations and part numbers for every component, from the spray gun assembly (225-0006) to the pressure hose assembly (225-0065) and accessory options (225-0067). Proper use of this manual ensures accurate identification of replacement parts, streamlined maintenance procedures, and ultimately, a longer lifespan for your Kaivac 1250.
Safety Precautions & Manual Access
Prior to any maintenance or repair work on the Kaivac 1250, always disconnect the power supply to prevent electrical shock. Wear appropriate personal protective equipment (PPE), including safety glasses and gloves, when handling components or fluids. Never operate the machine with damaged or missing parts – refer to this manual for correct replacements.
This parts manual is readily accessible both in physical format and potentially online via the Kaivac official website. Ensure you have the correct manual version corresponding to your machine’s serial number, especially when referencing wiring diagrams (before SN 1034). Familiarize yourself with the component groups – spray gun (225-0006), squeegee (225-0052), and hose (225-0065) – before beginning any work.
Key Component Groups
The Kaivac 1250 utilizes crucial assemblies: the spray gun (225-0006), squeegee tool (225-0052), and pressure hose (225-0065) for effective cleaning operations.
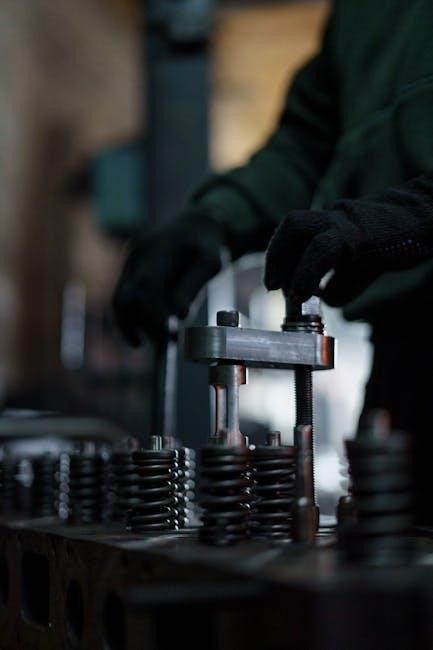
Spray Gun Assembly (225-0006)
The 225-0006 Spray Gun Assembly is a critical component of the Kaivac 1250 system, responsible for delivering the cleaning solution. This assembly includes the spray gun body, trigger mechanism, nozzle, and associated fittings. Proper functionality ensures optimal solution dispersal for effective surface cleaning.
Detailed diagrams within the parts manual illustrate exploded views of the assembly, aiding in identification of individual parts. Maintenance involves regular inspection of the nozzle for clogs and wear, and ensuring the trigger operates smoothly. Replacement parts are readily available through Kaivac’s ordering system, utilizing the 225-0006 assembly number as a reference.
Troubleshooting common issues, such as inconsistent spray patterns or leaks, is also covered, providing guidance for repair or component replacement. Always disconnect power before performing any maintenance on the spray gun assembly.
Squeegee Tool Assembly (225-0052)
The Kaivac 1250’s 225-0052 Squeegee Tool Assembly is essential for efficient removal of cleaning solution and debris from surfaces. This assembly comprises the squeegee head, connecting wand, and associated hardware. Maintaining a clean and undamaged squeegee blade is paramount for streak-free drying and optimal performance.
The parts manual provides detailed illustrations showcasing the assembly’s components and their proper arrangement. Regular inspection of the squeegee blade for wear and tear is recommended, with replacement readily available using the 225-0052 part number. Adjustments to blade pressure can optimize water removal based on surface type.
Troubleshooting guides address common issues like streaking or incomplete water removal, often stemming from a worn or improperly adjusted blade. Proper storage prevents blade deformation, extending its lifespan.
Pressure Hose Assembly (225-0065)
The Kaivac 1250’s 225-0065 Pressure Hose Assembly is a critical component, delivering cleaning solution from the tank to the spray gun under high pressure. This assembly includes the high-pressure hose itself, along with quick-connect fittings at both ends for easy attachment and detachment. Maintaining the integrity of this hose is vital for safe and effective operation.
The parts manual details the hose’s construction and specifies the correct fittings for secure connections. Regular inspection for cracks, kinks, or leaks is crucial; damaged hoses must be replaced immediately using part number 225-0065 to prevent potential hazards.
Troubleshooting sections address pressure loss issues, often linked to hose damage or loose connections. Proper hose coiling and storage prevent kinking and prolong its lifespan.
Electrical System & Controls
This section covers the Kaivac 1250’s wiring, motor, and pump components. Diagrams (pre-serial number 1034) illustrate connections for safe maintenance and repair procedures.
Wiring Diagram (Before SN 1034)
For Kaivac 1250 units manufactured before serial number 1034, a specific wiring diagram is crucial for accurate maintenance and repair. This diagram details the connections between the motor, pump, control panel, and power source. Understanding this layout is essential for troubleshooting electrical issues and ensuring safe operation.
The diagram illustrates color-coded wiring, component locations, and grounding points. Always disconnect the power supply before working on the electrical system. Incorrect wiring can lead to malfunction or pose a safety hazard. Refer to the diagram carefully when replacing components or diagnosing problems.
Note that wiring configurations may differ in units with serial numbers 1034 and later; therefore, always use the correct diagram for your specific machine. A clear understanding of this wiring scheme is paramount for effective service.
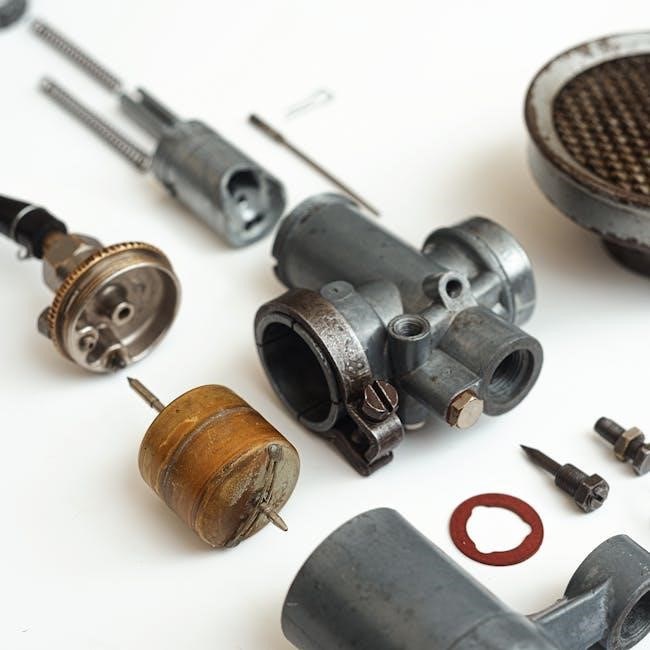
Motor & Pump Components
The Kaivac 1250 utilizes a powerful motor and pump system to deliver effective cleaning performance. Key motor components include the motor housing, brushes, and armature. Regular inspection of these parts is vital for maintaining optimal functionality. The pump assembly consists of the pump head, impeller, and seals.
Proper pump operation ensures consistent fluid delivery and pressure. Worn seals can lead to leaks and reduced efficiency. Replacement parts should always meet Kaivac’s specifications to guarantee compatibility and performance.
Detailed exploded views within the parts manual illustrate the arrangement of these components, aiding in disassembly and reassembly. Always follow recommended torque specifications when tightening fasteners to prevent damage. Routine maintenance extends the lifespan of both the motor and pump.

Fluid Handling System
This section covers the solution tank, nozzles, and related components. Proper nozzle selection and maintenance are crucial for efficient fluid application and cleaning results.
Solution Tank & Components
The Kaivac 1250’s solution tank is a critical component, designed for holding cleaning solutions and ensuring consistent fluid delivery during operation. This section details the tank’s capacity, material composition, and fill point locations. Understanding these aspects is vital for proper maintenance and preventing contamination.
Key components include the tank itself, fill caps, and associated hoses and fittings. Regularly inspect the tank for cracks or damage, and ensure all connections are secure to avoid leaks. Proper cleaning of the tank after each use is essential to prevent buildup and maintain optimal performance. Refer to the parts diagram for specific component identification and replacement part numbers. Always use Kaivac-approved cleaning solutions to avoid damaging the tank or other system components.
Nozzle Selection & Maintenance
Proper nozzle selection is crucial for achieving optimal cleaning results with the Kaivac 1250. Different nozzles are designed for various surfaces and cleaning tasks, impacting spray pattern, pressure, and solution distribution. This section outlines the available nozzle types and their recommended applications, ensuring efficient and effective cleaning.
Regular nozzle maintenance is essential to prevent clogging and maintain consistent spray performance. Inspect nozzles frequently for debris or mineral buildup, and clean them using the recommended procedures. A clogged nozzle can reduce cleaning effectiveness and potentially damage the system. Replacement nozzles are readily available; refer to the parts list for correct part numbers. Always ensure the nozzle is securely attached before operation to prevent leaks or malfunctions.
Maintenance & Troubleshooting
This section provides a routine maintenance schedule and solutions for common issues. Proper upkeep ensures longevity and peak performance of your Kaivac 1250 cleaning system.
Routine Maintenance Schedule
To maximize the lifespan and efficiency of your Kaivac 1250, a consistent maintenance schedule is crucial. Daily, after each use, thoroughly rinse the solution tank and spray gun with clean water to prevent buildup. Weekly, inspect the pressure hose assembly (225-0065) for cracks or leaks, and verify the squeegee tool assembly (225-0052) is free from debris.
Monthly, check the motor and pump components for unusual noises or vibrations. Lubricate moving parts as needed, following the guidelines in the full parts manual. Quarterly, deep clean the solution tank with a specialized cleaning solution. Annually, a professional inspection of the electrical system and wiring diagram (before SN 1034) is recommended to ensure safe and reliable operation. Adhering to this schedule minimizes downtime and costly repairs.
Common Issues & Solutions
Several issues may arise during Kaivac 1250 operation. A common problem is reduced spray pressure, often caused by a clogged nozzle – try cleaning or replacing it. If the machine isn’t powering on, check the wiring diagram (before SN 1034) and ensure all connections are secure. A leaking pressure hose assembly (225-0065) requires immediate replacement.
For squeegee tool assembly (225-0052) issues, ensure proper blade alignment and replace worn blades. If the pump isn’t priming, verify the solution tank has sufficient fluid. Unusual noises from the motor or pump may indicate component failure, necessitating professional repair. Always consult the full parts manual for detailed troubleshooting steps and part numbers before attempting any repairs.
Replacement Parts & Ordering
Locate specific Kaivac 1250 parts using detailed diagrams and part numbers. Ordering replacements ensures continued functionality, with options like the 225-0067 accessory kit available.
Identifying Part Numbers
Accurate part number identification is crucial for ordering the correct replacement components for your Kaivac 1250. The parts manual utilizes a systematic numbering scheme to categorize each item, from the spray gun assembly (225-0006) to the pressure hose assembly (225-0065).
Each component is assigned a unique identifier, facilitating precise ordering and minimizing errors. Refer to the exploded diagrams within the manual to visually locate the part you need and confirm its corresponding number. Double-check the part number before submitting your order to ensure compatibility and avoid delays.
Understanding this system streamlines the repair process and guarantees you receive the exact part required to restore your Kaivac 1250 to optimal working condition. Accessory options, like kit 225-0067, also have specific numbers.
Accessory Options (225-0067)
The Kaivac 1250 system benefits from a range of accessories, conveniently packaged as kit 225-0067, designed to enhance cleaning versatility and efficiency. This kit typically includes specialized nozzles for targeted cleaning applications, ensuring optimal solution delivery and soil removal. Additional brush attachments cater to various surface types, from carpets to hard floors.
Furthermore, the accessory kit may contain extension wands, allowing access to hard-to-reach areas, and specialized adapters for connecting to different cleaning tools. Regularly inspecting and replacing these accessories maintains peak performance. Proper maintenance extends the lifespan of both the accessories and the core Kaivac 1250 components.
Refer to the parts manual for a detailed list of included items and recommended usage guidelines for kit 225-0067.
Advanced Repair Procedures
Detailed instructions guide pump disassembly and motor replacement, requiring specialized tools and technical expertise. Always consult the manual before attempting complex repairs.
Pump Disassembly & Repair
Before disassembly, ensure the Kaivac 1250 is completely disconnected from power and water sources. Carefully document the pump’s original configuration with photographs, aiding reassembly. Begin by removing the outer casing, noting the position of all seals and O-rings. Inspect these components for wear or damage, replacing them as needed.
The impeller and diffuser are critical components; examine them for cracks or obstructions. If the pump fails to build pressure, these are often the culprits. Clean all parts thoroughly with a suitable solvent, removing any debris. During reassembly, lubricate all moving parts with a silicone-based lubricant. Proper torque specifications are vital – consult the parts manual for these values to avoid damaging threads or compromising seals.
Always test the pump’s operation after reassembly, checking for leaks and ensuring proper pressure output.
Motor Replacement Guide
Prior to motor replacement on the Kaivac 1250, disconnect all power sources and ensure the machine is fully de-pressurized. Document wiring connections before removal, utilizing photos or a detailed diagram. Carefully detach the old motor, noting the mounting hardware and any associated brackets. Inspect the motor mount for damage and replace if necessary.
When installing the new motor, verify it matches the original specifications (voltage, horsepower, RPM). Securely mount the new motor, ensuring proper alignment with the pump. Reconnect the wiring harness, precisely matching the original configuration. Double-check all connections for tightness and insulation.
After installation, test the motor’s operation, observing for unusual noises or vibrations. Confirm proper rotation direction and ensure the pump functions correctly.

Resources & Support
For additional assistance, visit the official Kaivac website or contact their customer support team directly. They offer expert guidance and parts information.
Kaivac Official Website
The Kaivac official website serves as a central hub for comprehensive information regarding the 1250 model and all other cleaning systems. Users can access detailed product specifications, downloadable resources like safety data sheets, and frequently asked questions addressing common operational concerns.
Crucially, the website provides a dedicated section for parts manuals and diagrams, allowing owners to easily identify components and corresponding part numbers for ordering replacements. Interactive tools and video tutorials demonstrate proper maintenance procedures, extending the lifespan of the equipment.
Furthermore, the site features a contact form and direct phone lines for reaching Kaivac’s customer support team, ensuring prompt assistance with any technical issues or parts inquiries. Regular updates and new resource uploads keep the information current and valuable.

Contacting Customer Support
For immediate assistance with your Kaivac 1250, reaching customer support is paramount. Kaivac offers multiple channels to address your parts manual inquiries and technical challenges. A dedicated phone line connects you directly with knowledgeable representatives prepared to guide you through component identification and troubleshooting.
Alternatively, an online contact form on the official Kaivac website allows for detailed submission of questions and requests, ensuring a documented record of your interaction. Expect prompt responses, typically within one business day, providing solutions or escalating complex issues to specialized technicians.
When contacting support, having your machine’s serial number readily available streamlines the process, enabling faster and more accurate assistance with parts identification and specific model-related concerns.